In this post, we will create a Microsoft Azure account. Then in later posts we will use the account to learn about Azure computer and networking services.
This post is part two of a Microsoft Azure home lab.
Posts in Microsoft Azure Home Lab
Table of Contents This Post
Create an Entra ID Tenant
What is an Entra ID Tenant?
An Entra ID tenant is needed in order to use Microsoft 365 and Azure subscriptions. Microsoft Entra ID (formerly called Azure Active Directory) is the centralized identity and access management (IAM) for Azure and Microsoft (MS) 365 subscriptions. Entra ID enables:
- secure authentication
- single sign-on (SSO)
- control over users, groups, devices, and applications across Microsoft cloud applications
Create a Microsoft 365 for Business Account
When creating either an Azure or MS 365 account, an Entra ID account is automatically created. For this lab, we will create an Entra ID tenant by creating a Microsoft 365 for business account. Because during the signup for MS 365 (unlike the signup for Azure) we are given the option of specifying the domain name for our account.
Note that when signing up for MS 365 for business, Microsoft will provide a 30 day free trial for new users. Microsoft will check your IP address, name, email, and billing address to see if you already have a MS 365 account. If you already have a MS 365 account then use a different login location and credentials in order to get access to the free account.
Go to the Microsoft 365 for business sign-up page. Click on the button “Try for free.” Follow the prompts to create a MS 365 Business Standard account.
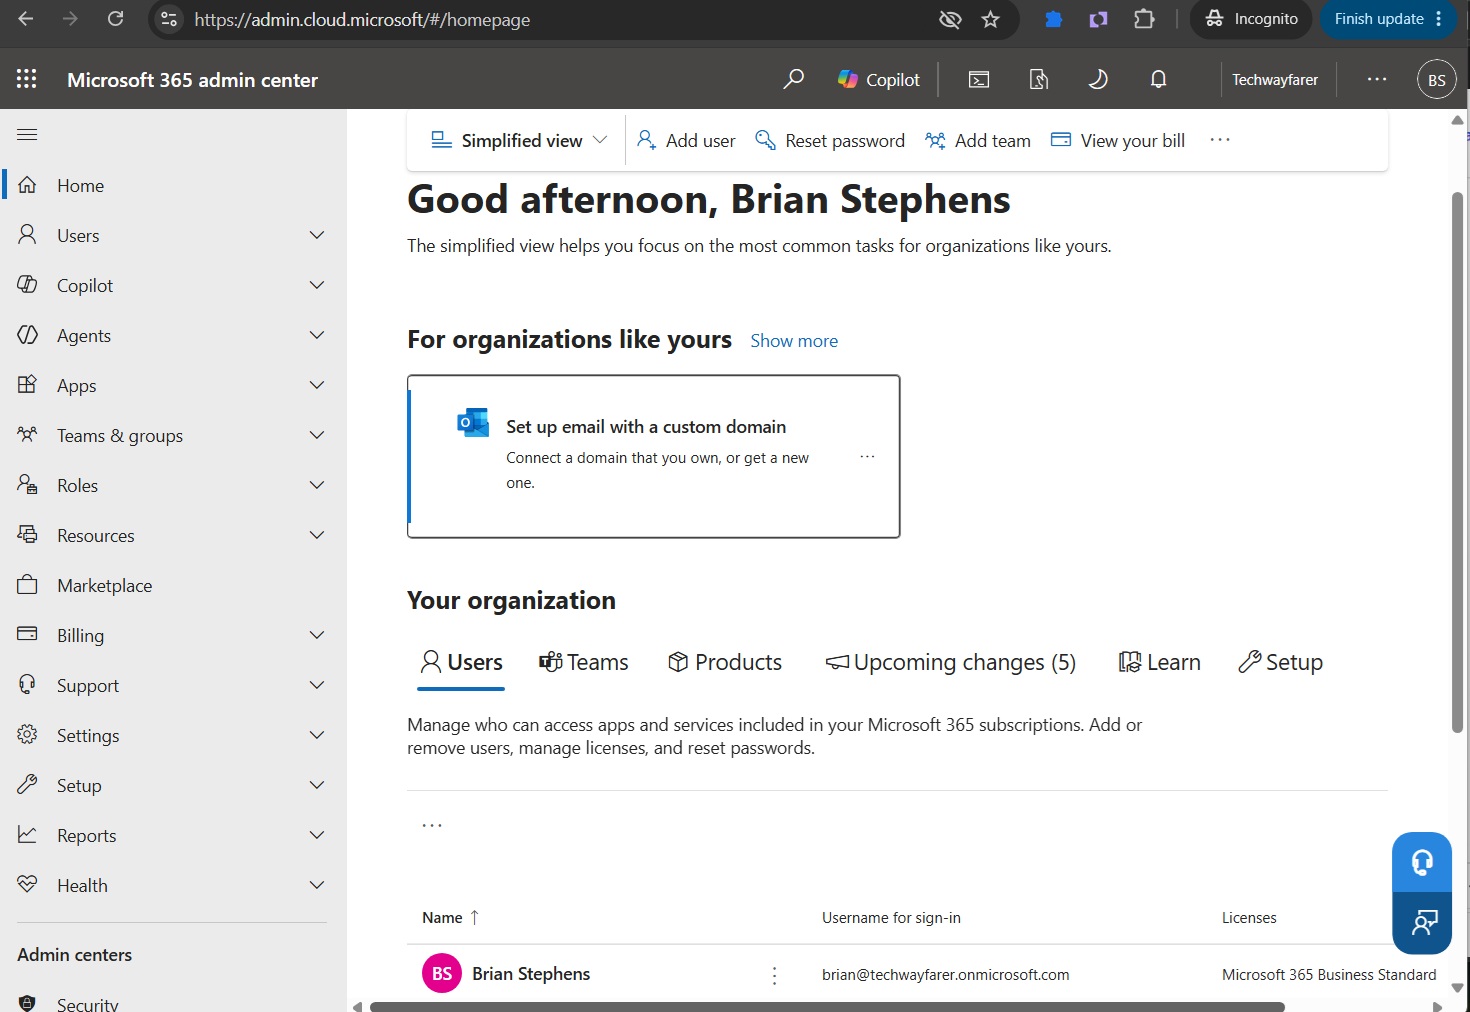
You will be prompted to create the administrator’s username. The username format is username@domainname.onmicrosoft.com. Specify both the username and the domain name (e.g., brian@techwayfarer.onmicrosoft.com). In the future, other users will be created in the account using the same domain name.
You can now login to MS 365. During the login process you will be prompted to login with the Microsoft Authenticator app. Download the app and follow the instructions on the MS 365 login page to set up the Authenticator app to work with your account.
The “Microsoft 365 admin center” home page will show the single user created on the account so far.
Sign up for Entra ID P2
In the previous step, a free Entra ID account was created when the MS 365 account was created. There are several versions of Entra ID available. You can view the features and pricing of the different Entra ID plans on the Microsoft website.
The P2 version of Entra ID has more features that we will use in this lab. We will upgrade from the free version of Entra ID to the P2 version that includes a with a 30-day free trial.
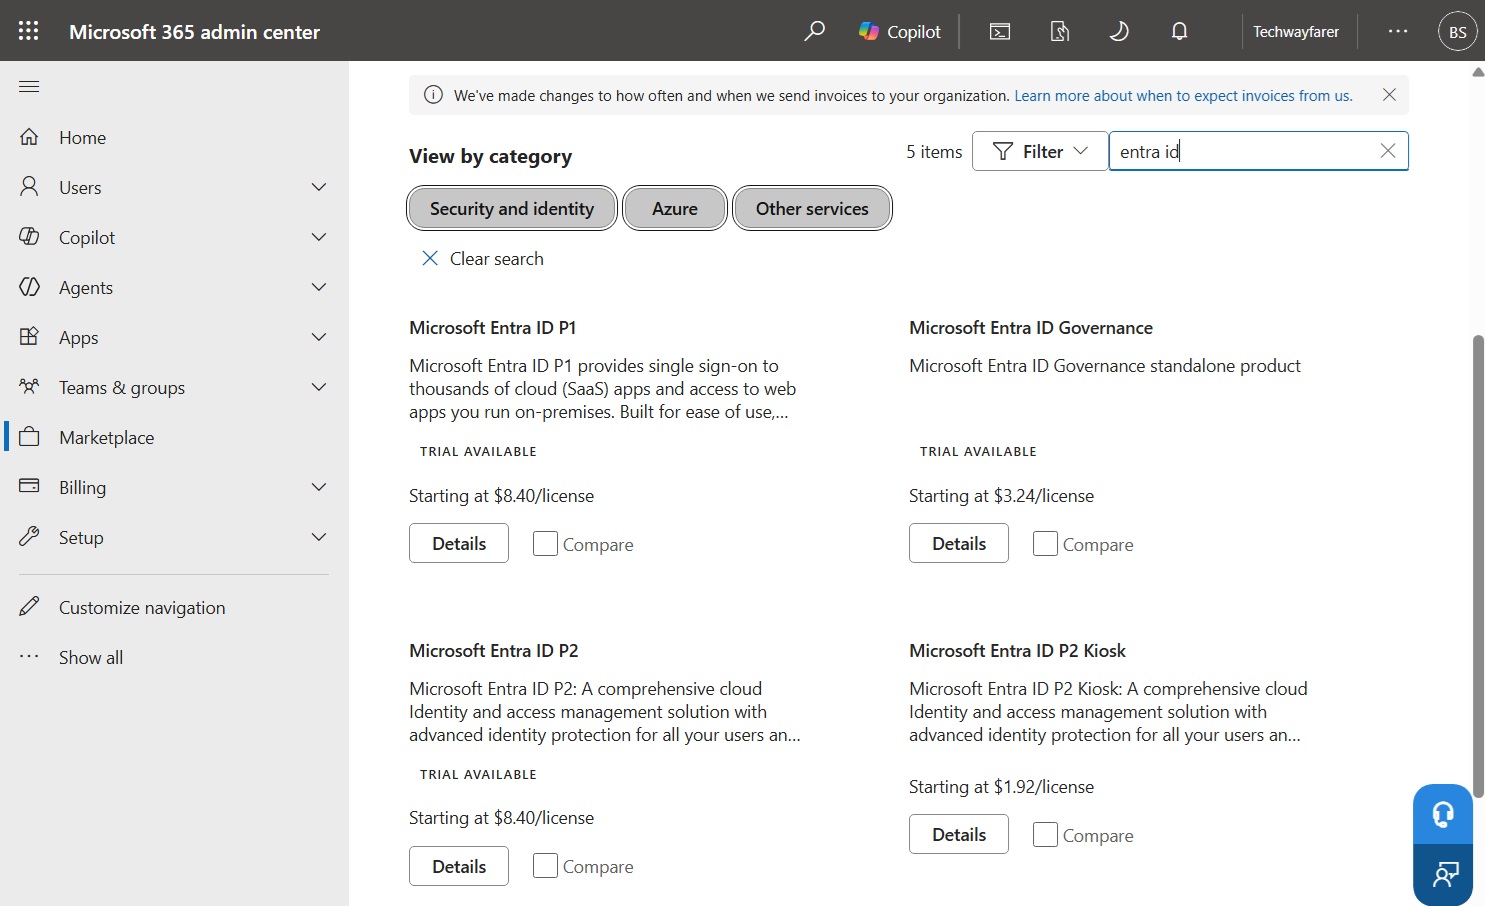
In the Microsoft 365 portal, click on Marketplace in the left navigation panel. In the Marketplace window click on the All Products tab. Under “View by category” enter “entra ID” in the search box. Scroll down and under “Microsoft Entra ID P2” you will see a trial available. Click on Details to sign up.
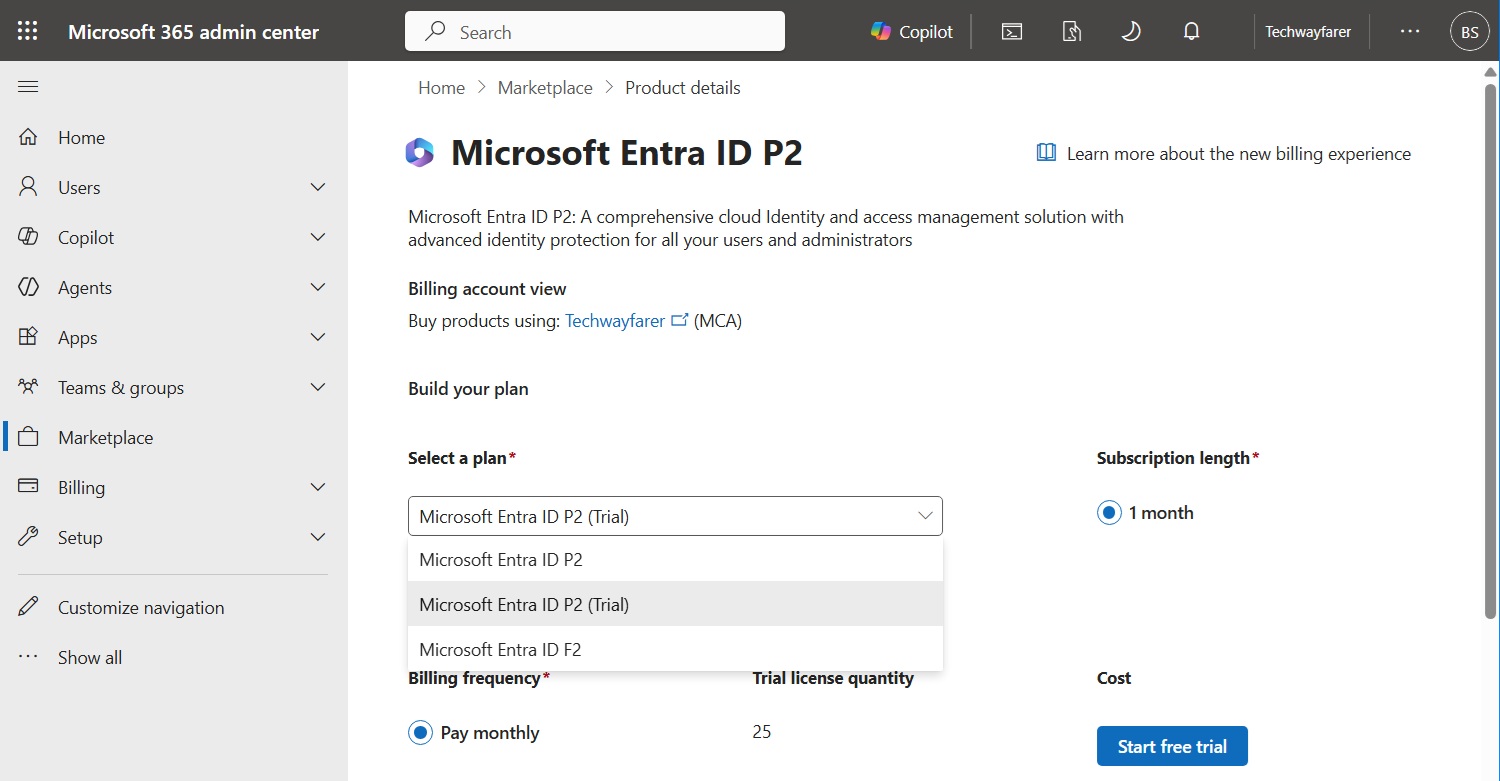
In the “Microsoft Entra ID P2” window, under “Select a plan” choose the trial. Then follow the prompts to finish signing up.
Login to Entra ID
You can access the Entra ID account using several methods:
- Enter entra.microsoft.com in a browser address bar.
- Log into MS 365. Then In the left menu panel under ‘Admin centers’ choose Identity.
You are taken to the Entra home page for your account.
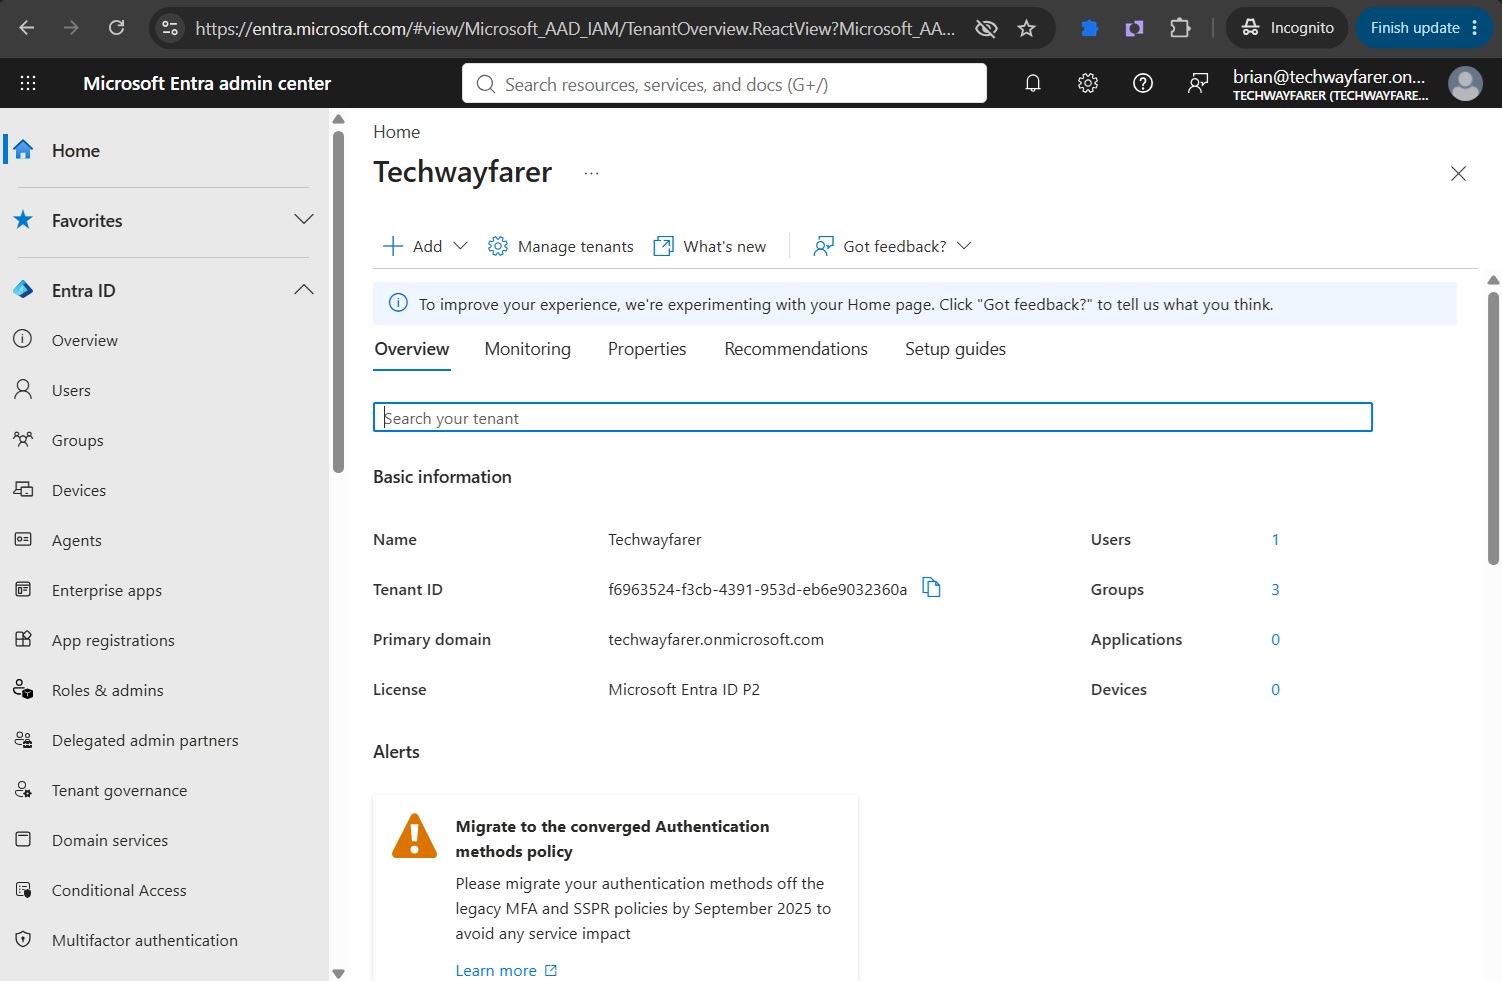
The domain name created in an earlier step is visible on the Entra ID home page next to “Primary domain.”
The License field shows “Microsoft Entra ID P2” that we signed up for in an earlier step.
Create a Microsoft Azure Account
We will now create our Microsoft 365 account with a free 30-day trial.
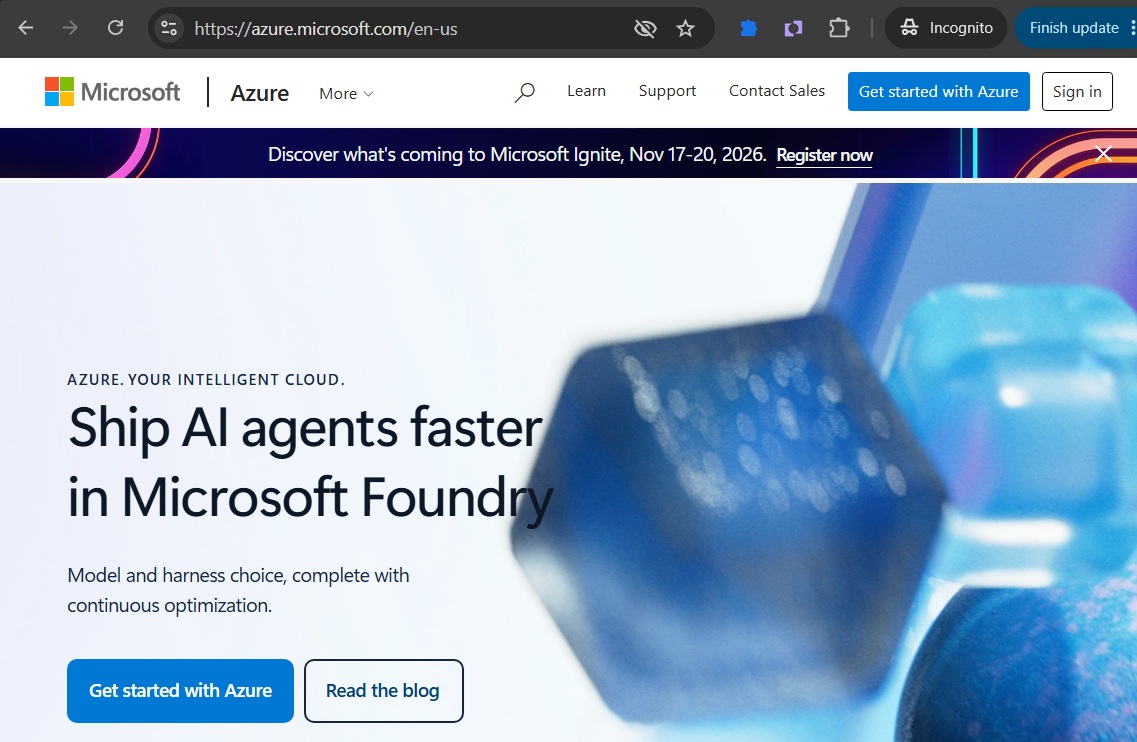
Log into the Entra ID account created in an earlier step. In the same browser open another tab, go to azure.microsoft.com, and click on the button “Get started with Azure.”
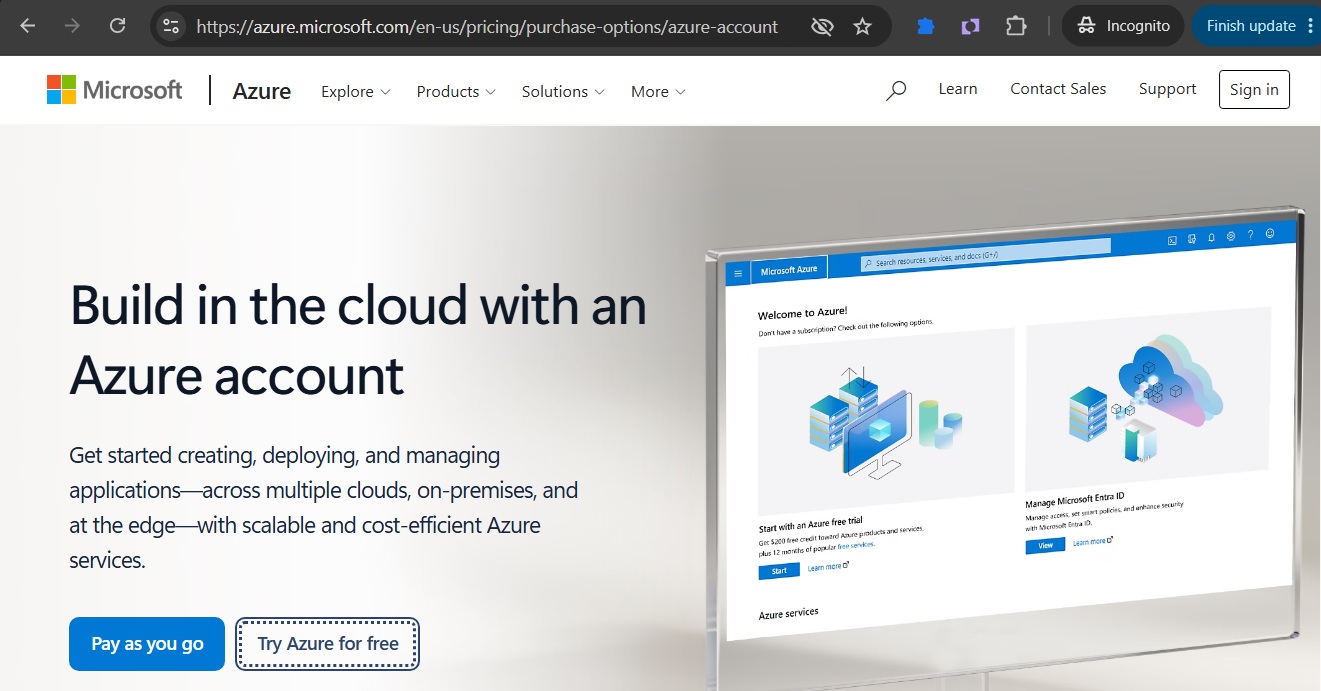
On the following webpage click on the button “Try Azure for free.”
You will be taken to the Azure signup page where you will walk through three steps to sign up for the free 30-day trial. In Step 1 the credentials used for your Entra ID account will populate into the fields. Complete the three steps.
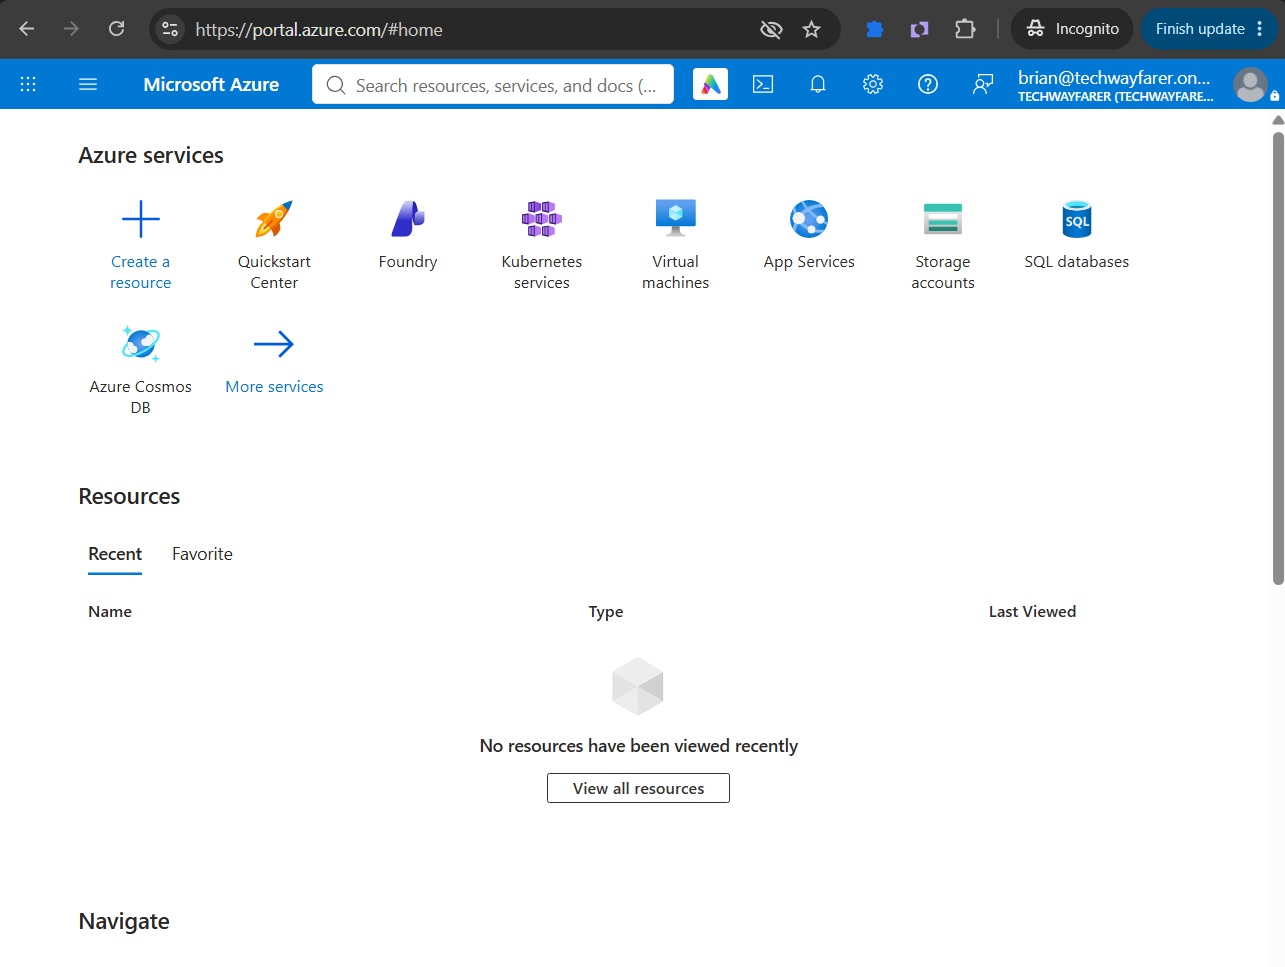
You will be asked to protect the account with multi-factor authentication. Click Next. Your Azure account will be created and the Azure home page will open.
View Subscriptions
An Azure subscription is a logical container that holds resources (e.g., virtual machines (VMs), blob storage accounts, databases, and networking.) You can have multiple subscriptions in Azure. Each subscription is linked to only one Entra ID account.
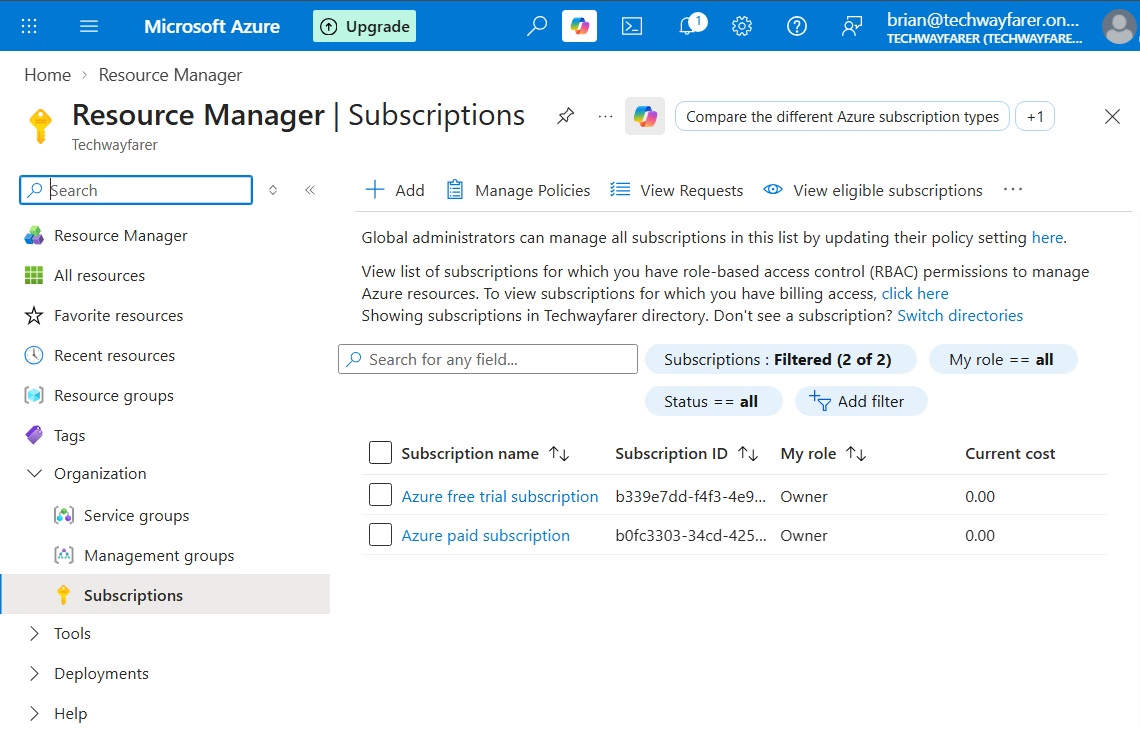
We will view the subscriptions created for our Azure account. At the Azure home page, under Azure Services click on “More services.” In the All Services window enter subscriptions in the search bar and click on Subscriptions. The “Resource Manager | Subscriptions” window opens.
In our lab, Azure created two subscriptions that are both labeled “Azure subscription 1.” Clicking on the name for each lab reveals that one of the subscriptions is the free 30-day trial and the other is a paid subscription. We will change the names of the subscriptions so our lab resources are kept under the free subscription.
Conclusion
We are done creating a Microsoft Azure account for the lab.
Key Takeaways:
- Entra ID is the identity and access management (IAM) system for Microsoft 365 and Azure.
- An Entra ID tenant is created when a new Microsoft 365 or Azure account is created. Creating a MS 365 account provides the opportunity to specify the domain name for the Entra account (e.g., domainname.onmicrosoft.com).
- Free 30-day trials are available for Microsoft 365, Entra ID, and Azure.
In the next post you will learn how to create a virtual network in Azure.
Next Post >> Create a Virtual Network in Azure