In this post, we will install Kali Linux using VMware Workstation.
Table of Contents This Post
This post in part of a series that documents the creation of a home lab using VMware Workstation Pro and Kali Linux.
Home Lab Series of Posts
Download Kali Linux
Go to the official Kali Linux website. On the top menu bar, click on Get Kali.
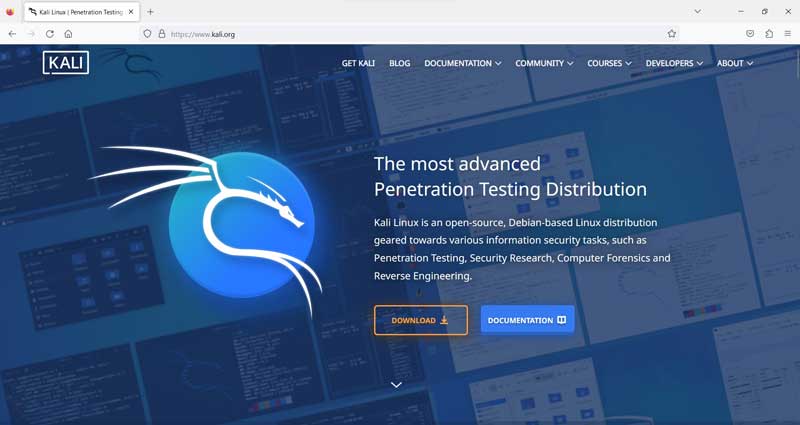
At the “Choose your Kali” webpage you can download either an installer (iso) file or a prebuilt VM image file. The iso file gives you the most flexibility, allowing you to install Kali Linux as a host operating system or as a virtual machine.
The prebuilt VM image files were created by Kali Linux to make it easier to create a virtual machine. The image files can be imported into either VirtualBox or VMware Workstation.
For our project, we will download a prebuilt image file. So click on “Virtual Machines.”
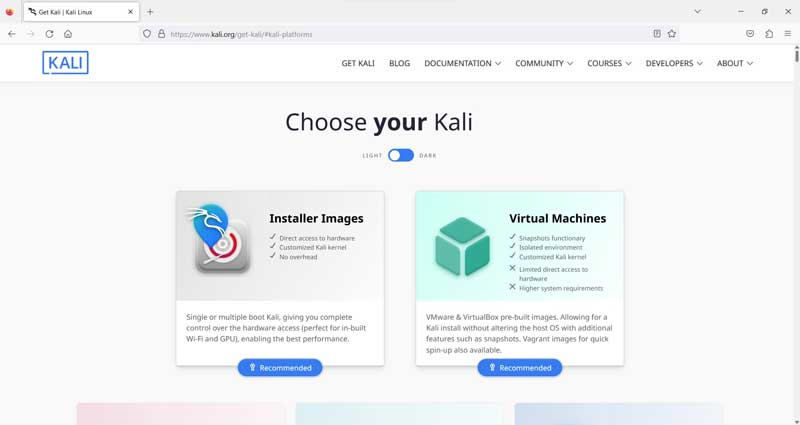
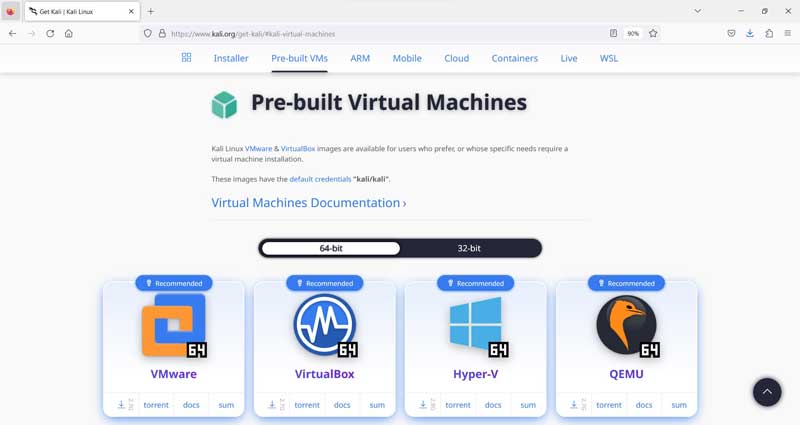
At the “Prebuilt Virtual Machines” webpage, choose the download button for VMware. You will download a preconfigured VM that is compatible with VMWare Workstation.
Save the prebuilt file to your computer in the Downloads folder.
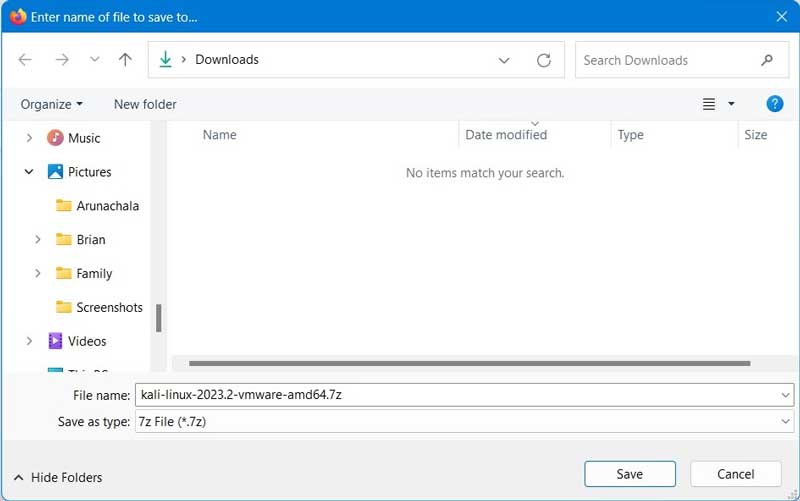
The downloaded VMware file has a .7z file extension, which means the file was compressed using the opensource program 7-Zip. If you have not used 7-Zip before, you will need to download and install it in order to extract the Kali Linux VMware file.
Download and Install 7-Zip
To download 7-Zip go to the official site.
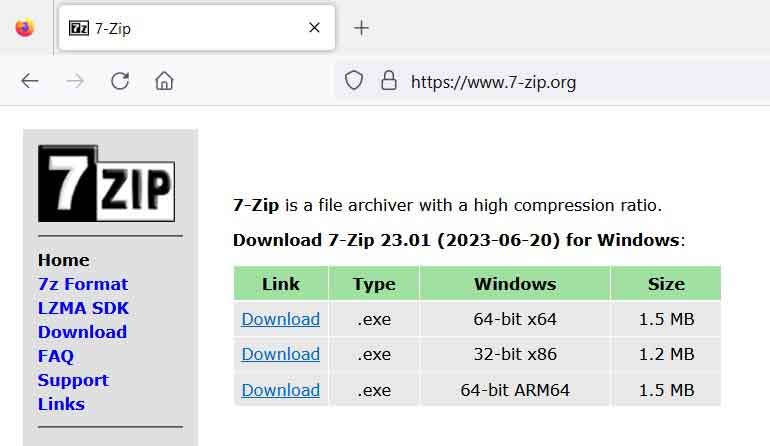
Click on the download link that matches your system. Save the exe installation file to your computer in the Downloads folder.
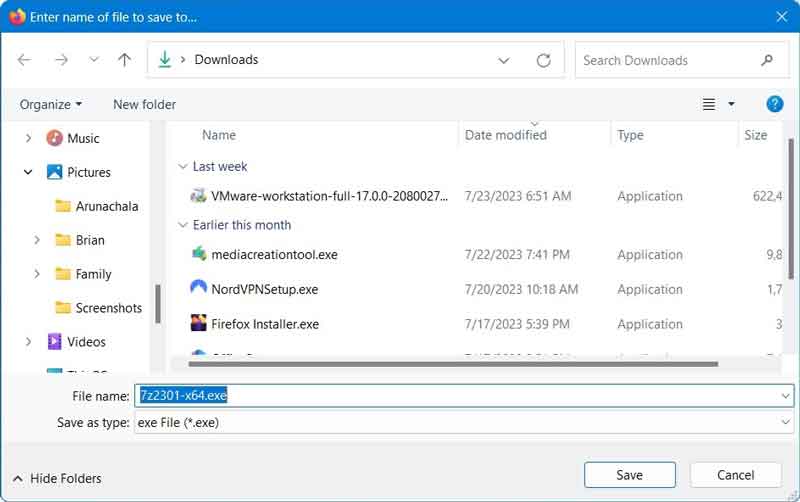
Within the Windows Downloads folder, double click on the Z-Zip exe file. Then accept the installation folder location and click the Install button.
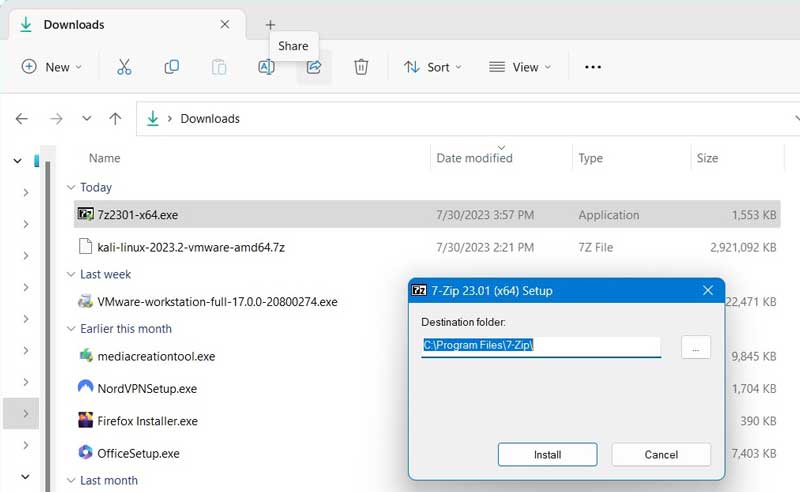
Once the program has finished installing, click the Close button.
Extract the Kali Linux VMware File
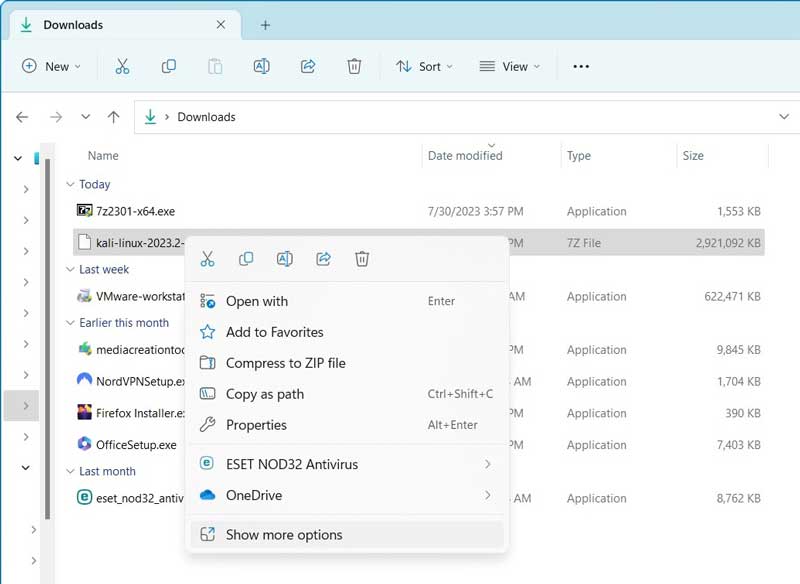
Open the folder where you downloaded the compressed Kali Linux VMware file. Right click on the 7-Z file. In the pop-up menu click on “Show more options.”
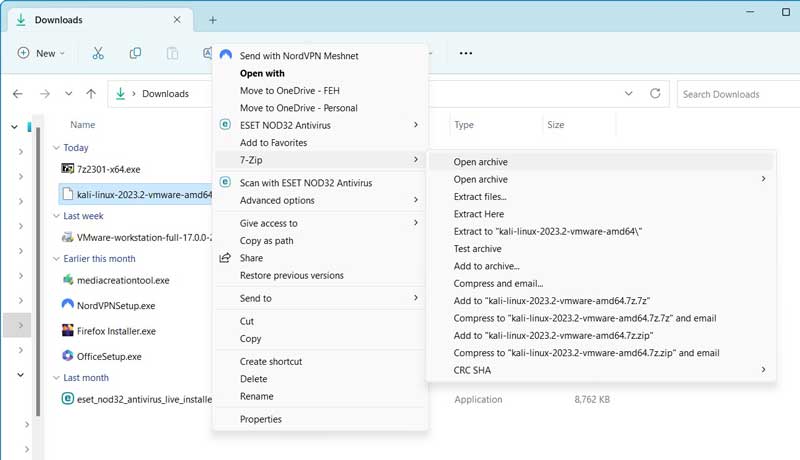
In the menu choose 7-Zip > Open archive.
The Kali Linux VMware file will open in the 7-Zip program. Click the Extract icon to extract the contents of the 7z file.

In the Copy pop-up window, click on the three dots.
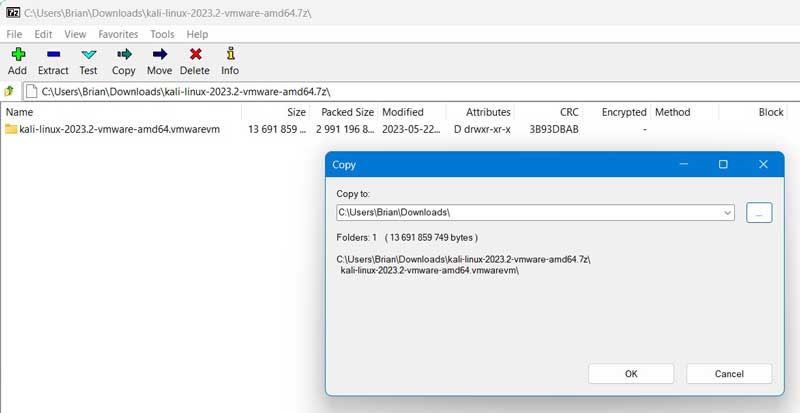
Choose where you want the extracted Kali Linux VMware files to reside on your computer. In this installation, Kali Linux will be run from a separate drive to increase system performance. Click the OK button.
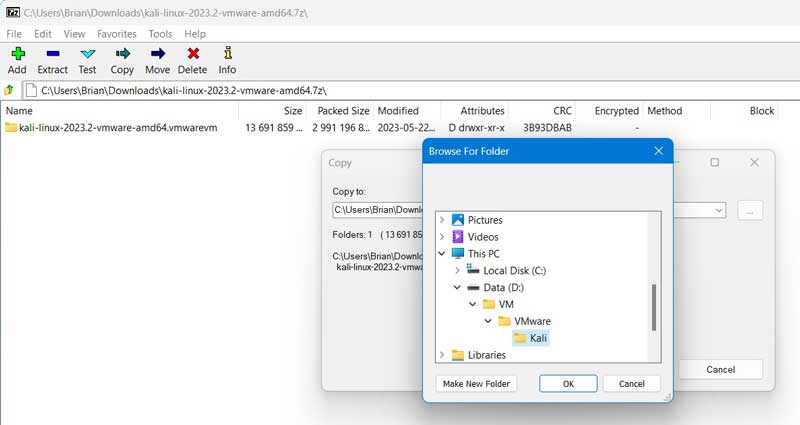
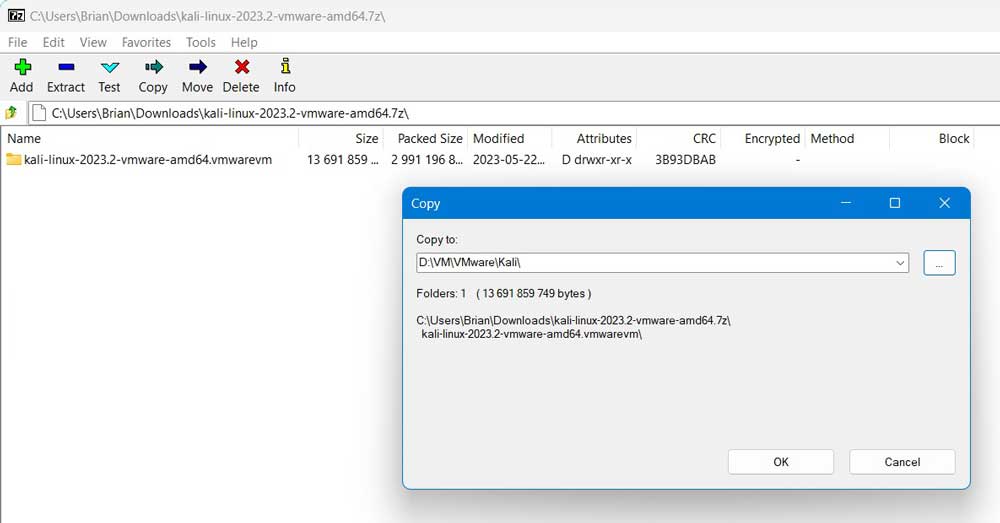
The new folder location will appear in the “Copy to” field within the Copy pop-up window. Click the OK button.
The extraction process will take a short while. When the status hits 100% the Copying pop-up window will disappear.
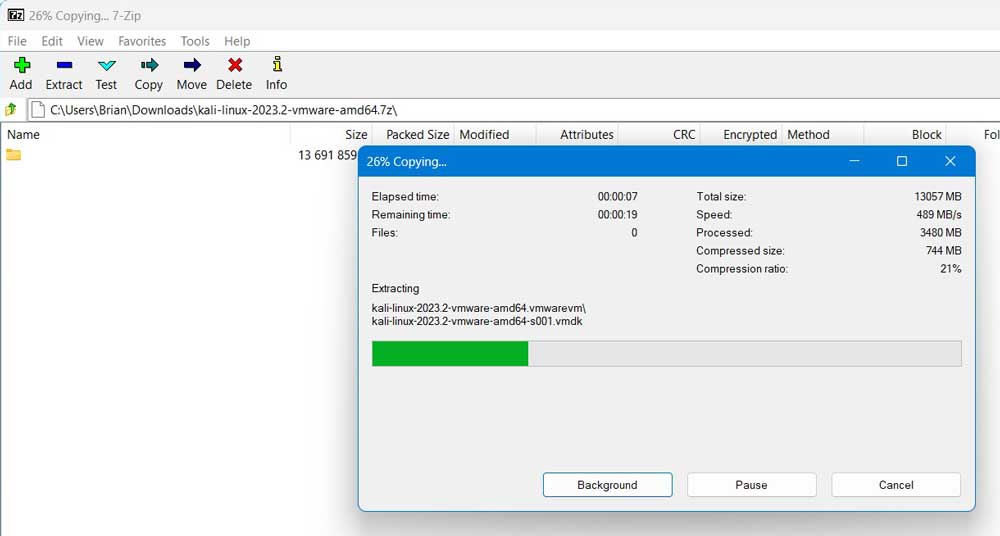
You can close the 7-Zip program. You have finished extracting the Kali Linux .7z file downloaded from kali.org.
If you examine the extracted contents in Windows File Explorer, you will notice that a Kali Linux folder was created. And within the folder are all the files needed to run Kali Linux on VMware.
Open Kali Linux VM in VMware Workstation
In the prior steps, we downloaded a prebuilt VM from kali.org and extracted the 7-Zip file to our computer. So all the files needed to run Kali Linux already exist on your computer.
Since we didn’t download an iso file from kali.org, there is no need to create a new VM. We need only import, or open, the prebuilt Kali Linux VM in VMware Workstation.
Begin by opening VMware Workstation. At this point no virtual machines exist in VMware Workstation.
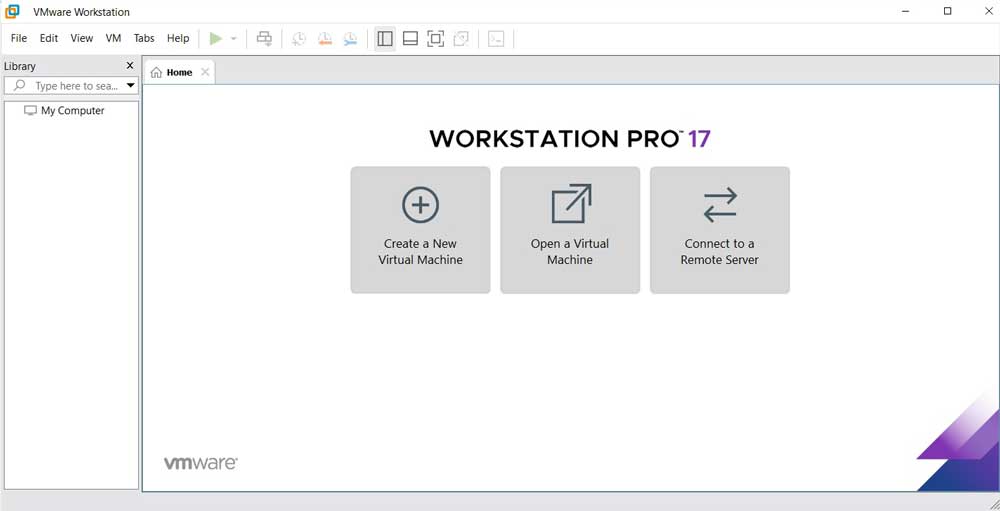
Click on File > Open. In the Open pop-up window, navigate to the Kali Linux folder on your hard drive that was created by 7-Zip.
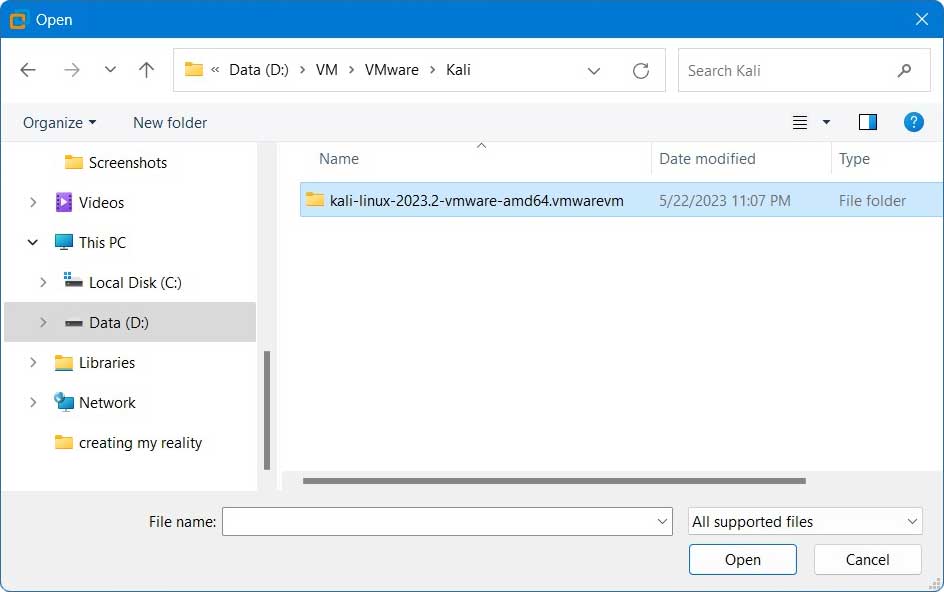
Open the Kali Linux folder and the main VMware file, with a vmv extension, will appear. Select the file and click Open.
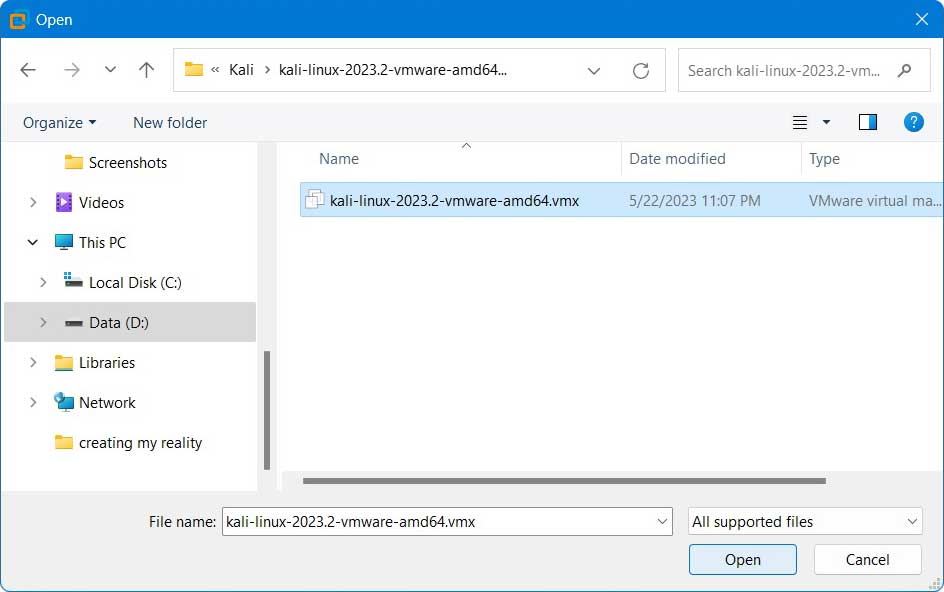
The Kali Linux VM in now available for use in your VMware hypervisor.
In the next post you will learn how to configure VMware Workstation.
Next Post >> How to Configure VMware Workstation
