In this post, we will install and configure VMware Workstation Pro on a Windows 11 Pro host operating system.
Table of Contents This Post
This post is part of a series that documents the creation of a home lab using VMware Workstation Pro and Kali Linux.
Home Lab Series of Posts
Download the Installation File
You can download the VMware Workstation Pro installation file directly from VMware. Choose the latest version, which at the time of writing is Workstation 17 Pro for Windows.
Once the exe file is downloaded, double click on it to begin the installation.
Microsoft VC Redistributable
During the installation you will likely receive a pop-up window stating that you need to install Microsoft VC Redistributable.
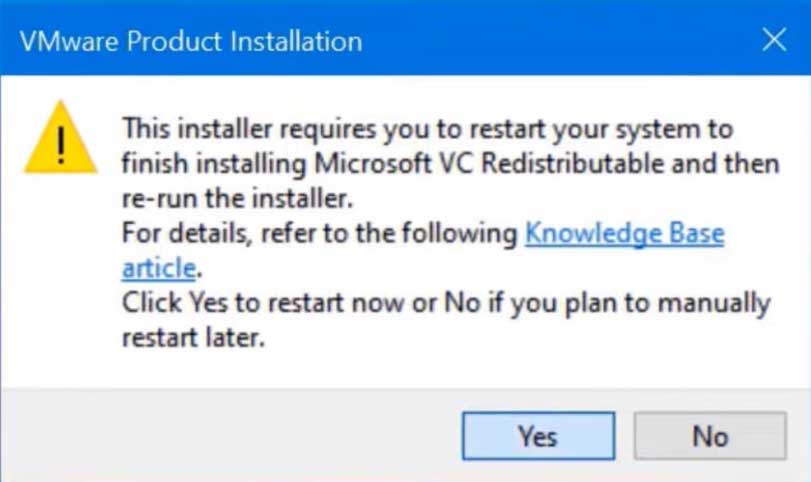
Click Yes. Restart the PC. And restart the installation executable file.
Windows Hypervisor Platform
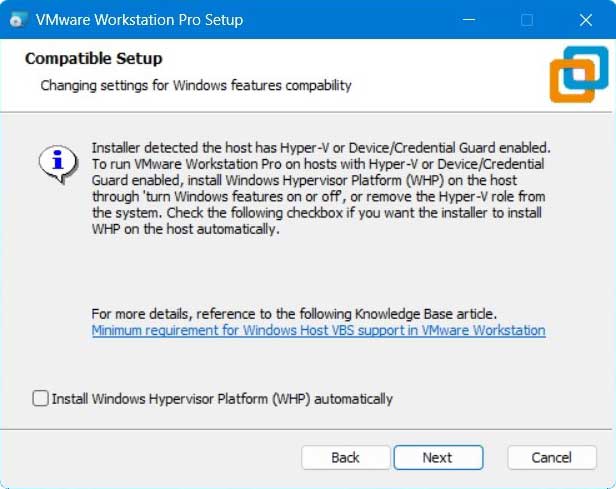
If you have not yet installed the Windows Hypervisor Platform, you may receive a pop-up window asking you to install it. Choose Next to allow VMware installer to install Windows Hypervisor Platform.
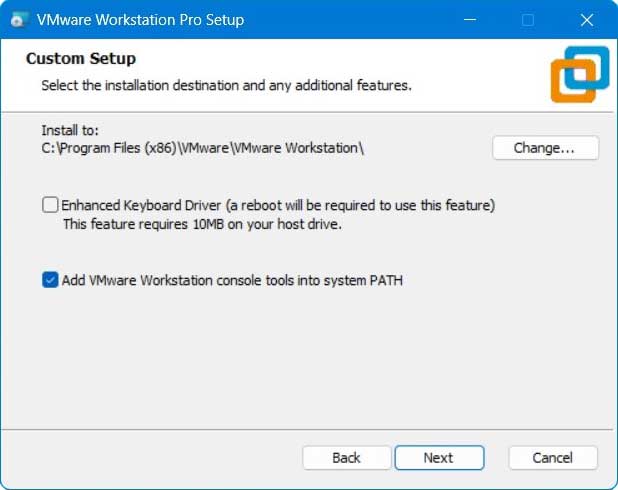
Custom Setup Settings
I kept the default to “Add VMware Workstation console tools into system PATH.” Make your choices and click Next.
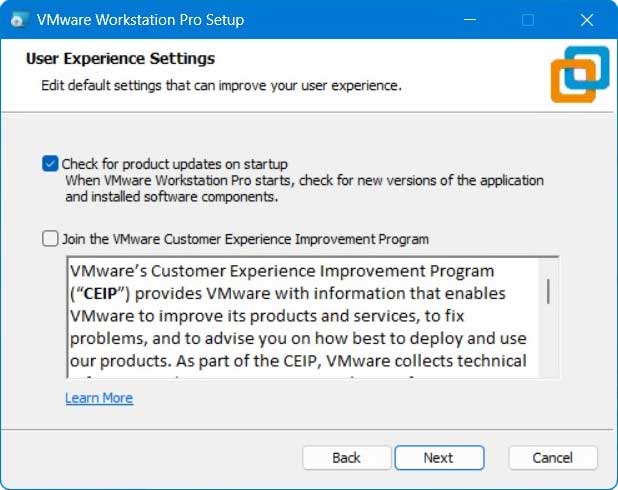
User Experience Settings
I allowed “Check for product updates on startup” and unchecked “Join the VMware Customer Experience Improvement Program.” Make your choices and click next.
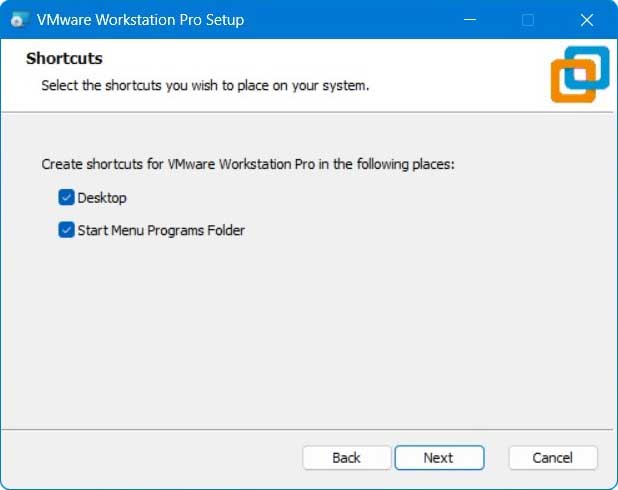
Shortcuts
Choose whether to create shortcuts on the Desktop and in the Start Menu Program Folder and click Next.
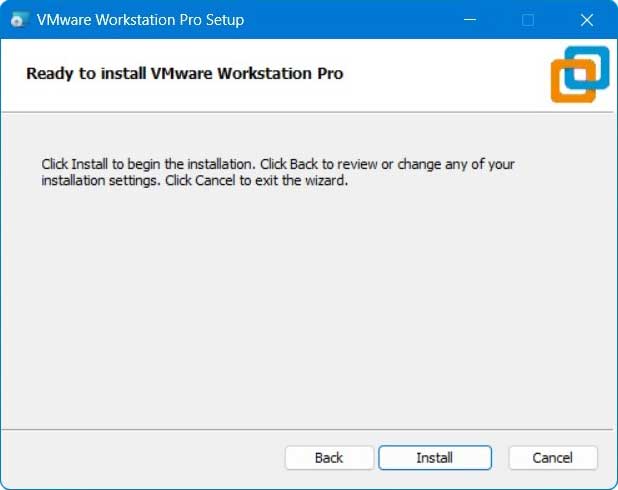
Ready to install VMware Workstation Pro
Click the Install button and the program will install.
License
After the program is finished installing you will see the message “Completed the VMware Workstation Pro Setup Wizard.”
You have the option of entering a license key. VMware Workstation Pro costs $199 on the VMware site. You can buy a license for a fraction of the MSRP at sites like Kinguin.net. If you purchase a software license, click on the License button to enter it.
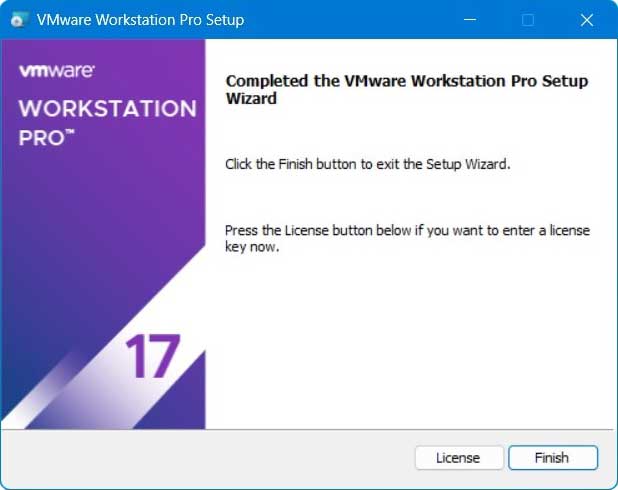
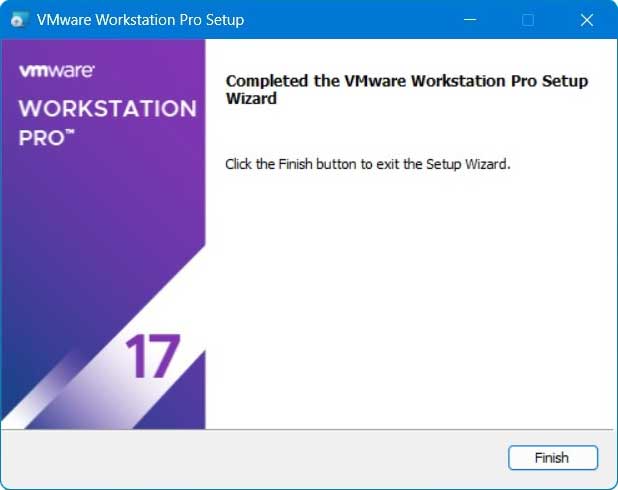
Click Finish and restart your computer.
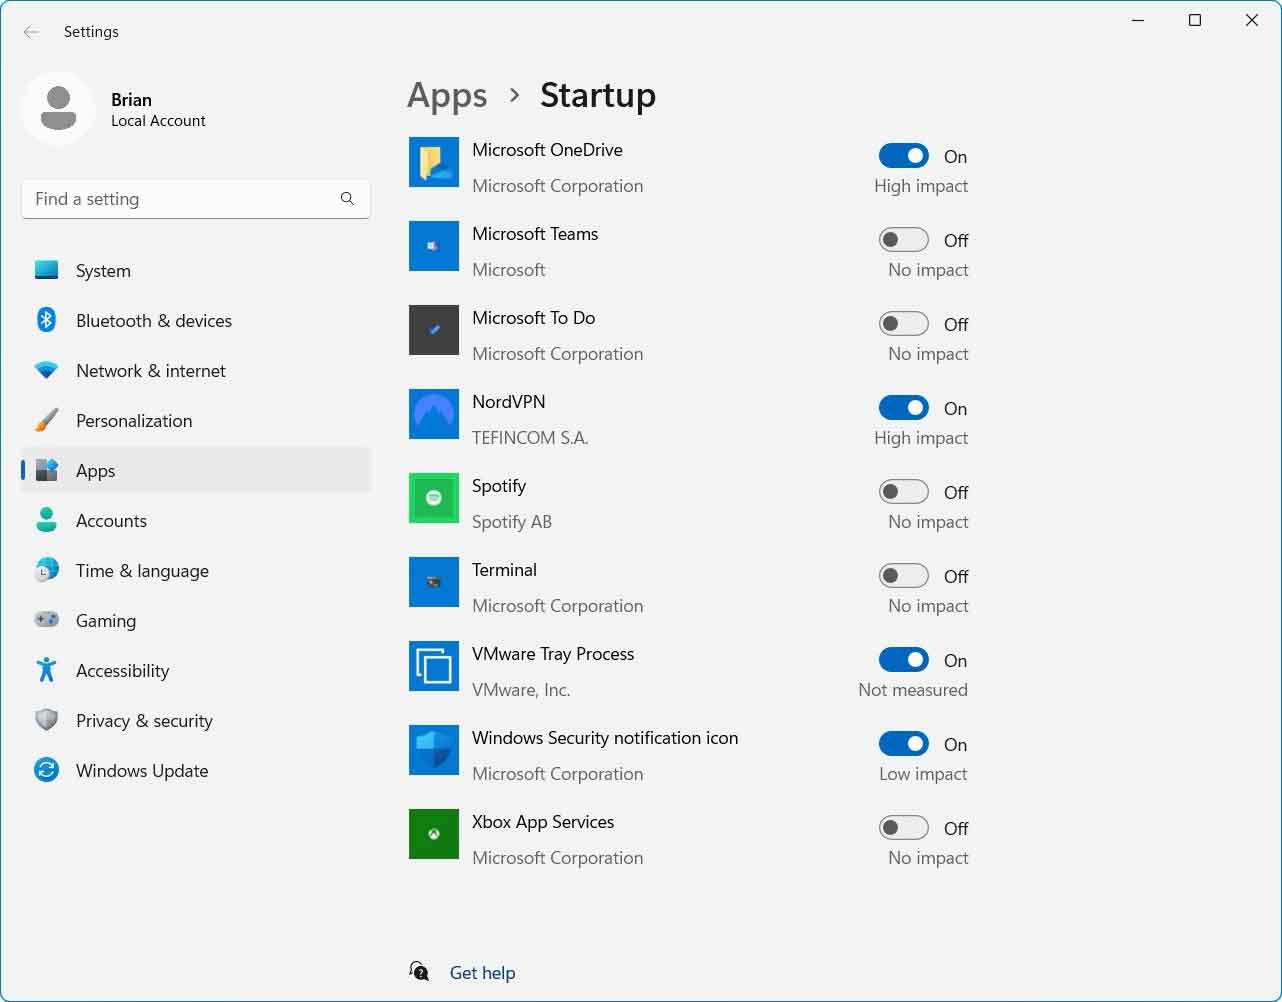
Windows Startup Apps
If you open the Windows Startup Apps you’ll see VMware Tray Process starting each time you reboot Windows. You can choose to deactivate VMware Tray Process on startup to save memory space if you want. You can then restart your PC to let the startup settings take effect.
In the next post you will learn how to install Kali Linux using VMware Workstation.
Next Post >> How to Install Kali Linux using VMware Workstation